In my recent Phase One webinar on Black and White with Capture One Pro I first talked about setting up a workspace that allows for frictionless workflow, and moving away any unnecessary tools or tabs.

I essentially keep all the work done in three tool tabs, Exposure, Black and White, and Local Adjustment, and try to minimize the back and forth to each of the different tool tabs.
Here’s a short explanation and a few screenshots of the different tabs, and how I have each of the different tools organized. One huge benefit of C1 is the way you can have the same tool in multiple tabs. It might seem redundant at first, but you'll find that you will need to access the same tool at different points in the workflow, and not needing to go to a different tab, make an adjustment and then and back is a huge savings in terms of time and attention.
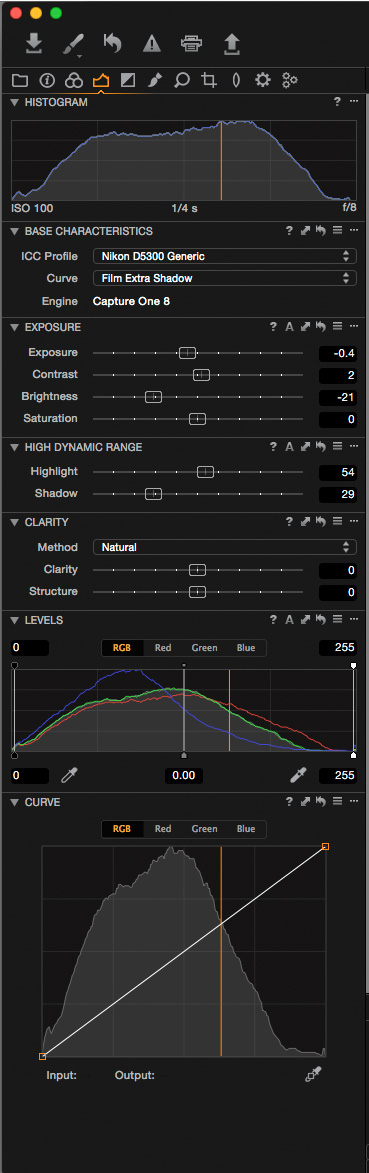
Exposure Tool Tab
- Base Characteristics
- Exposure
- High Dynamic Range
- Clarity
- Levels
- Curves
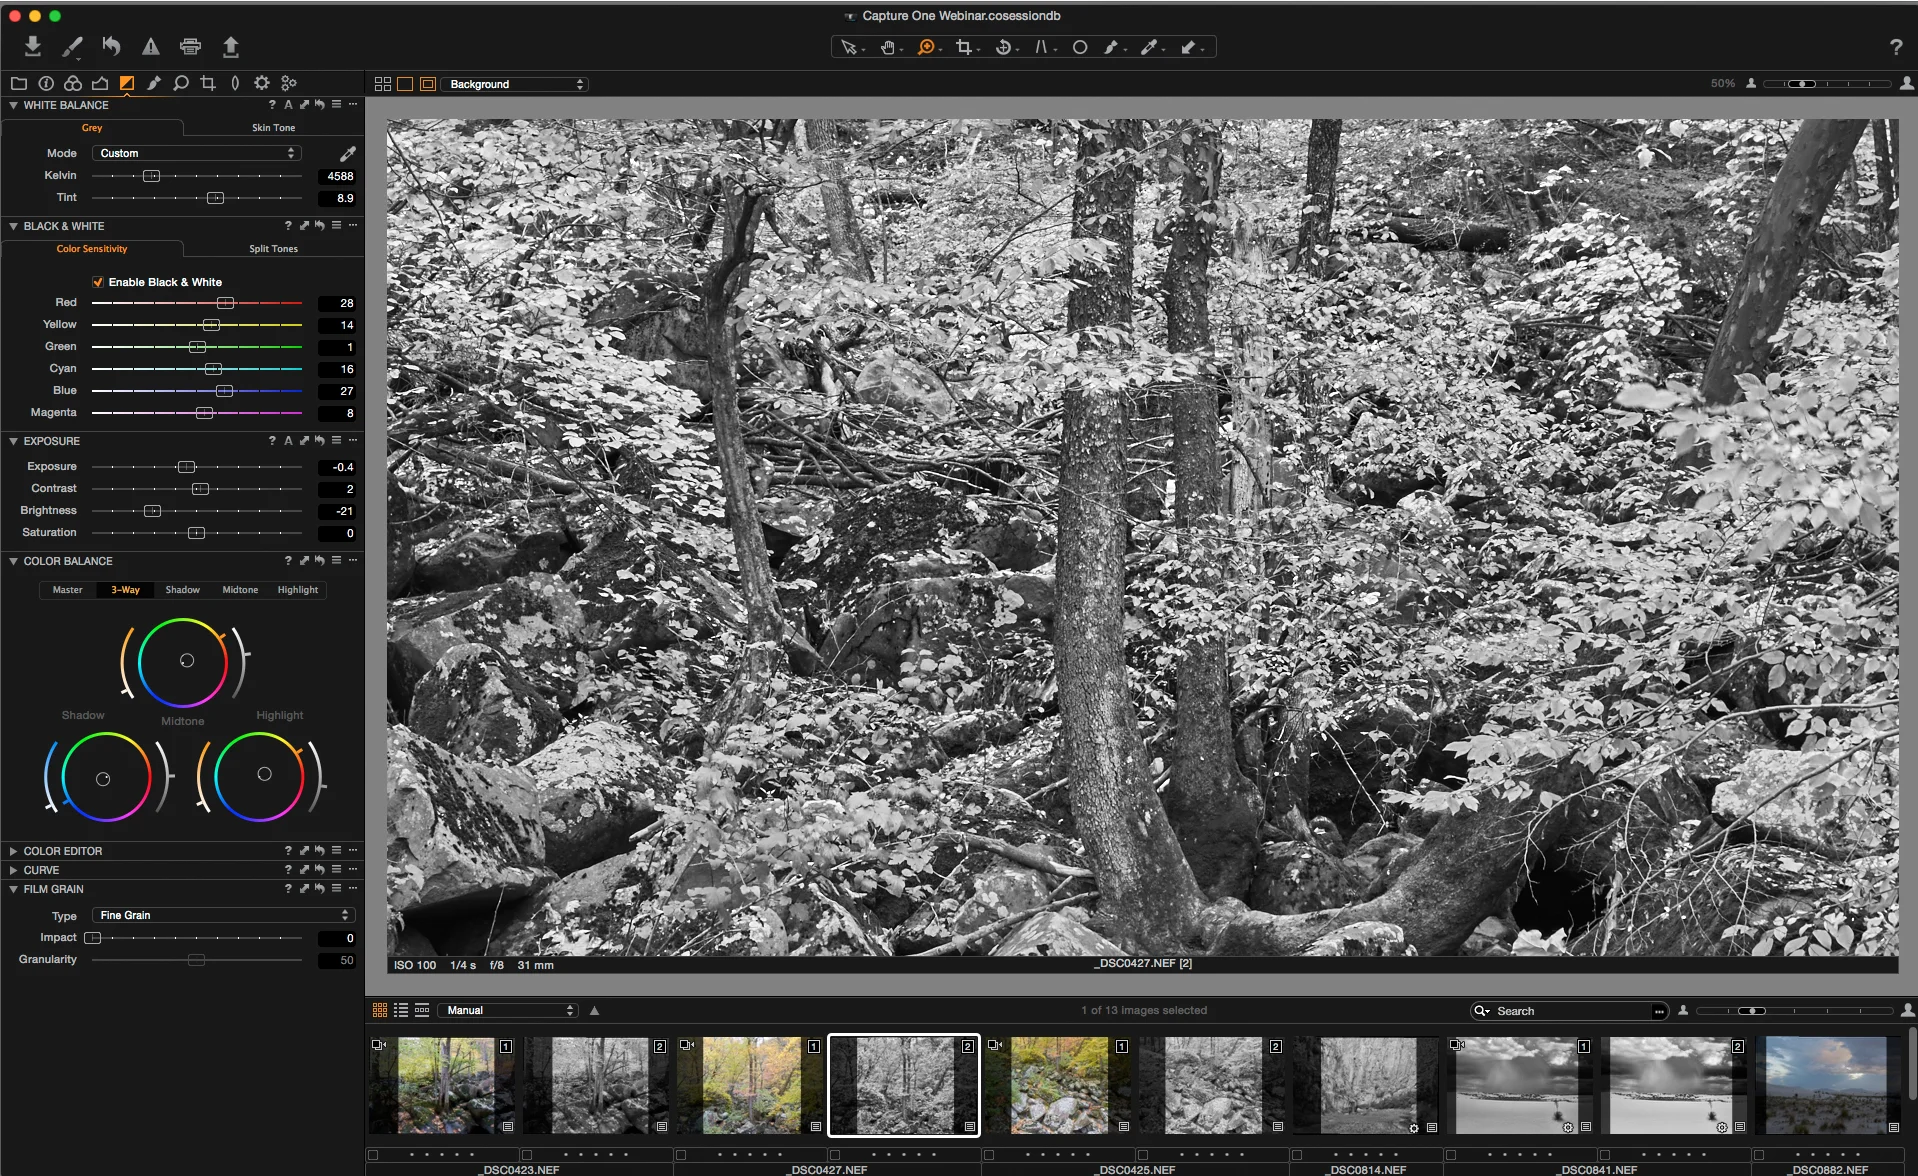
Black and White Tool Tab
- White Balance
- Black and White
- Exposure
- Color Balance
- Color Editor
- Curves
- Film Grain
Local Adjustments Tool Tab
- Exposure
- High Dynamic Range
- Clarity
- Sharpening
- Noise Reduction
- Moire
- Purple Fringing