
with ColorMunki, i1 Studio, or i1 Pro photospectrometers to use with QuadToneRIP and QuadToneProfiler
I was never a fan of the ColorMunki software for customized black and white printing workflows, because it being a consumer oriented device, the Xrite software—both the original ColorMunki and especially the new i1 Studio—was designed around Color ICC profiling with a limited number of patches. The good thing about the original software was capable of reading in individual patches into a measurement file that could be used in other printing workflows, it never worked all that well. The i1 Studio software just doesn’t work at all.
The good news is that these devices are supported by ArgyllCMS, which is a free, open-source application that supports all kind of devices and color management workflows.
Argyll is pretty complex and can hard to use because it is a Command Line App that runs in the Terminal. That was enough friction for me to not even look at it, but now that Xrite no longer supports the i1 Pro revD in their newer versions of i1 Profiler, it is the only way to continue using it with Apple Silicon-based computers.
While the command line might be intimidating at first, the good new is that once you strip out all the stuff Argyll does that is not relevant to black and white printing, it isn’t all that difficult to use.
I made a set of reference files and targets and a copy and paste workflow that should be relatively easy, even if the blinking cursor in a terminal makes your eyes glaze over. Trust me, and stick to these instructions and you should be in good shape.

Installing Argyll CMS
There are a few ways to install Argyll CMS, but in most cases, you don’t need to compile from the source code.
Use the link below to download the ArgyllCMS programs, unzip the folder, and then drag the whole Argyll folder to your Applications folder.
Then Rename the Argyll_v2.2.1 folder to simply ArgyllCMS
While you are in the Applications/ArgyllCMS folder, open the bin folder and right click or press control+click on the chartread program to accept the security warning and get around Apple's gatekeeper security check for software that has not been signed and notarized. Once you accept the security warning you'll be able to run it from the command line without having to authenticate with your password when you try read a target for the first time.
Note: If you plan on making ICC profiles from Argyll measurement files, you might do the same with colprof program while you are in the bin folder. There will be a future post with an update to QuadToneProfiler-Pro and QuadToneProfiler-Pro-DN and how to save special .ti3 files to create ICC profiles with ArgyllCMS colprof.

ArgyllCMS Chart Read Instructions
Download the Argyll resources files at the link below. Choose one of the grayscale stepwedge targets for your measurement device to print. Please see the instructions for the QuadToneProfiler apps for the different size targets to print for their intended uses.
Open the target in PrintTool and print with no color management, and choose the your paper and .quad curve you want to linearize. If you are calibrating for digital negatives, choose the appropriate image that has the black borders and make sure you mask them off so to end up as white borders in the final print.
Make sure you let the ink dry thoroughly, and if using digital negatives, throughly dry the negative and go through your standardized exposure and processing steps.
Open the Terminal application (Applications/Utilities/Terminal). It might seem scary, and it can be, but it won’t bite you (UNLESS you type rm followed by the name of a directory or file. Just DO NOT ever type rm unless you’re sure you know what you’re doing).
In Terminal, change the working directory to Applications/ArgyllCMS/bin by pasting the command below
* first open terminal and paste this command to get to the argyll cms bin folder in your application s folder*\
cd /Applications/ArgyllCMS/bin
Press return
Copy and Paste one of the following this command below into the terminal (DO NOT PRESS RETURN YET)

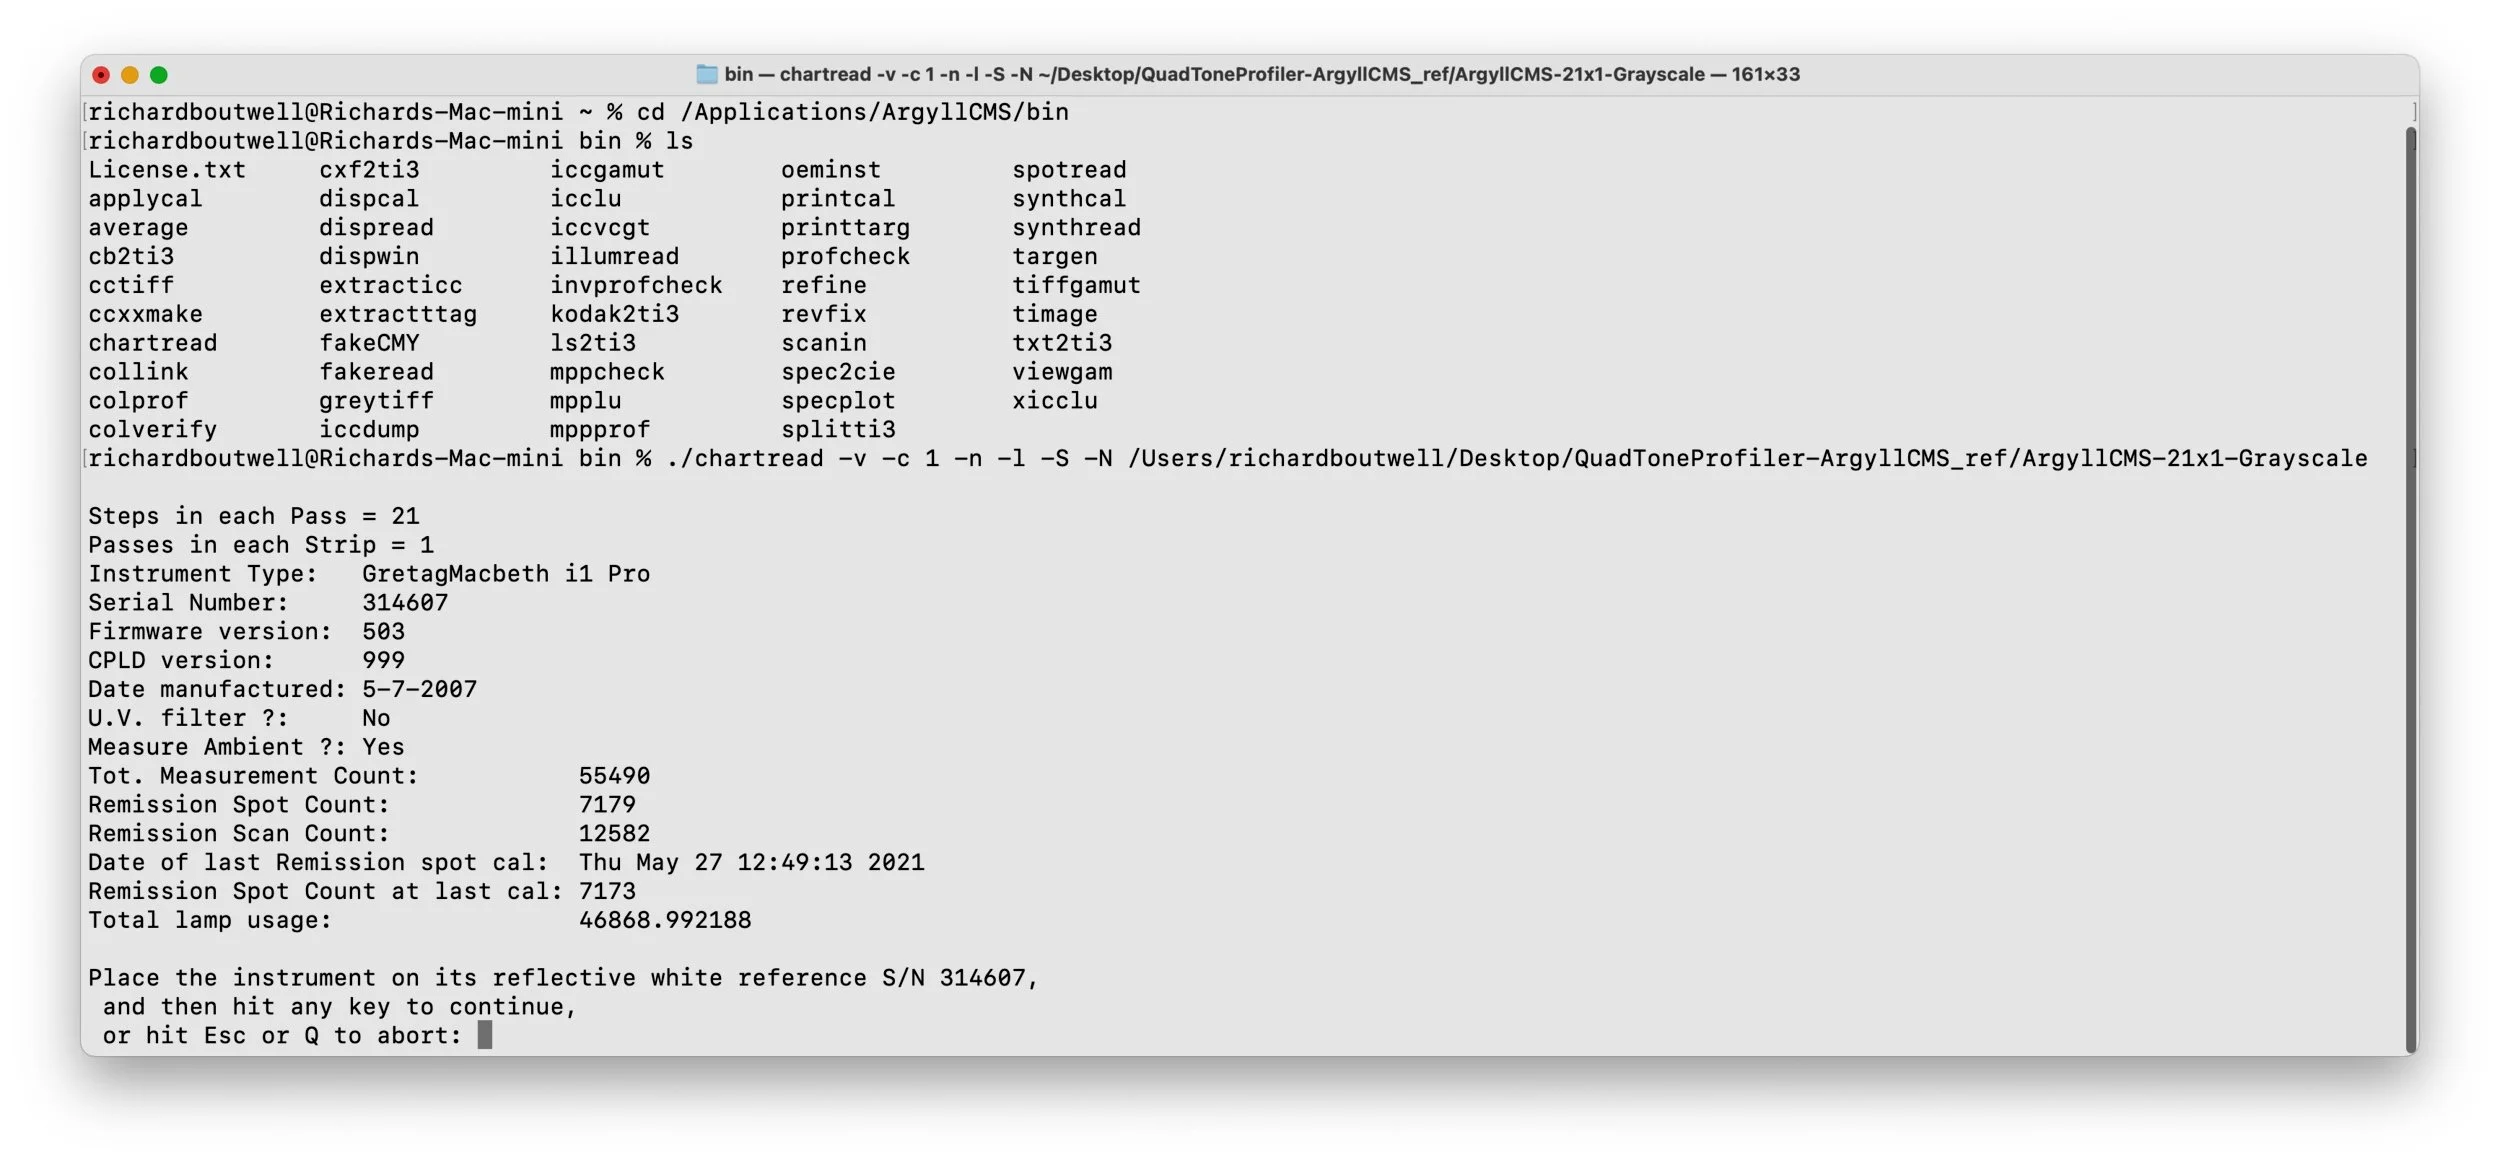
./chartread -v -c 1 -n -l -S
- This command (without the
-Nflag at the end) will require calibrating the device each time you want to measure the a target, whether the device requires the calibration or not. I don’t recommend using this command if you are measuring multiple targets in quick succession.
./chartread -v -c 1 -n -l -S -N
- This command (with the
-Nflag) will require calibrating the device the first time it is used, and then only again if enough time has passed or if the software things the device has drifted from the calibrated state. This is what I use when measuring multiple targets in a single sitting.
You can read what all these command flags mean at the end of this post.
Next you will need to add the reference file that defines the patch layout for the target you printed.
- Open a new Finder window with the .ti2 reference files and find the one associated with the target you printed.
- drag the .ti2 file to terminal window so that it drops to the end of the line you pasted above.
- press the right arrow key once to move to the end of the line and then the delete (or backspace) to remove the .ti2 extension from the file name at the end of the line
- Press return and Argyll will determine the size and shape of the target and prompt you with on screen instructions You will then do the following steps as indicated by the output in the Terminal
- First calibrate the device and make sure there are no calibration error.
- The place the ruler on the first row and measure from light to dark. There will be a line on the chart to help align the ruler for the correct row (if measuring a target with more than 1 row)
- Argyll will prompt you to move to the next row until all rows are measured and then to press
don the keyboard to save the measurement file.
Moving the measurement file to the folder for your paper and printer
The measurement file will have the same name as the reference file, but will have a .ti3 file extension. You will need to change the name of the file to the same as the .quad curve file you used to print the target, along with any paper name or other relevant information. Then move the file to the measurement file folder for your printer/paper/ink set.
At this point you can then move on to any of the custom curve creation, linearization, or advanced profile creation workflows in my QuadToneProfiler applications.

Argyll Terminal Commands and Flag Details:
./ references the enclosing folder where the chartered program is located.
chartread is used to run the program. If you press return without any of the option flags or the reference file it will display the usage for the chartread program.
-v means"verbose" and just gives you slightly more feedback in the Terminal when calibrating the device and strip reading the patches.
-c 1 specifies the USB port to find the i1 pro/colormunki/i1 studio device (this is optional if you only have 1 device plugged in)
-n is used turn off the function to save the full spectral data in the measurement file. My profiling software only needs CIELAB data, and all the additional spectral data is not necessary
-l is used to only save the CIELAB values in the final measurement file (the Argyll defaults to save CIEXYZ data)
-S is used to suppress any suspected measurement errors due to too large of a difference between the measured value and the value in the reference file. You need this flag set because we are using measurements from alt processes or ink limits that will not be close to the expected values.
-N is used to prevent the device from needing to be calibrated after each set of measurements and only prompt for calibration if the device or software thinks it is necessary. I use this option when measuring multiple 21-step targets for the different ink components when making the .QTP profile files.