
Making profiles for multiply gray dilutions with the traditional QuadTone RIP workflow
I mentioned last year that I was working on a new user guide for creating custom QuadToneRip profiles based on the methods I've been using for the last few years. This simple PDF has taken on a life of its own, and the original idea of a short updated user guide has turned into a full length technical book, and possibly software to make what could be the perfect QTR profile.
This all started more than a year ago when I was asked to write about digital black and white ink jet printing for someone else's book. That project fell through, but it sent me on a year-long journey testing and comparing prints with nearly every possible method.
I still think that the gold standard for most people is Jon Cone's Piezography method, but there are still people who (like me) are on a budget and want to make their own profiles—either to be able to test different papers, different custom ink mixtures, profile problematic equipment, or just because...
Difficulties of a Six-Ink Profile
The Gradient on the right is a profile with incorrectly set cross over points, and no additional overlap. The gradient on the left has correctly set cross over points and 60% overlap.
One of the things that sets Piezography profiles apart from QTR profiles is the unique way Piezography partitions the inks and the shape each of the overlapping ink curves and their long trailing edge. QuadToneRip used a much different way of partitioning the grayscale, and, when using the standard ink limit/partitioning method, the shape of each ink's curve is, for the most part, out of your control*.
*There is a way to define a photoshop ACV curve for each ink, but you lose the ability to control the gray curve with the other settings in the ink descriptor file—that is for another post.
The default QTR curve building algorithm has some overlap as one shade passes to the next, and it works well for a K3 profile, but when more than 4 inks are coming in and out of use so rapidly, any mistake with the cross over settings can cause terrible banding and won't linearize when running the QTR profile installer. The trouble is that no matter how carefully you set the cross over points, the shape of the default curves is very "sharp" and can actually be seen as bumps or as horizontal banding in smooth gradients.
The Often Overlooked Gray_Overlap Setting
To minimize the appearance of those bands or sharp edges in the ink curves, I like a lot more of each ink to overlap to smooth the slope and and elongate overlap with the next darker ink(s). This creates a much more gradual ink distribution, and is similar to Jon Cone’s approach to building Piezography profiles, although the QTR curve creation program makes curves with much different shape. I use a GRAY_OVERLAP setting of at least 50, and have now pretty much settled on 75. The maximum value here is 100, but there seems to be little benefit of a setting that high.
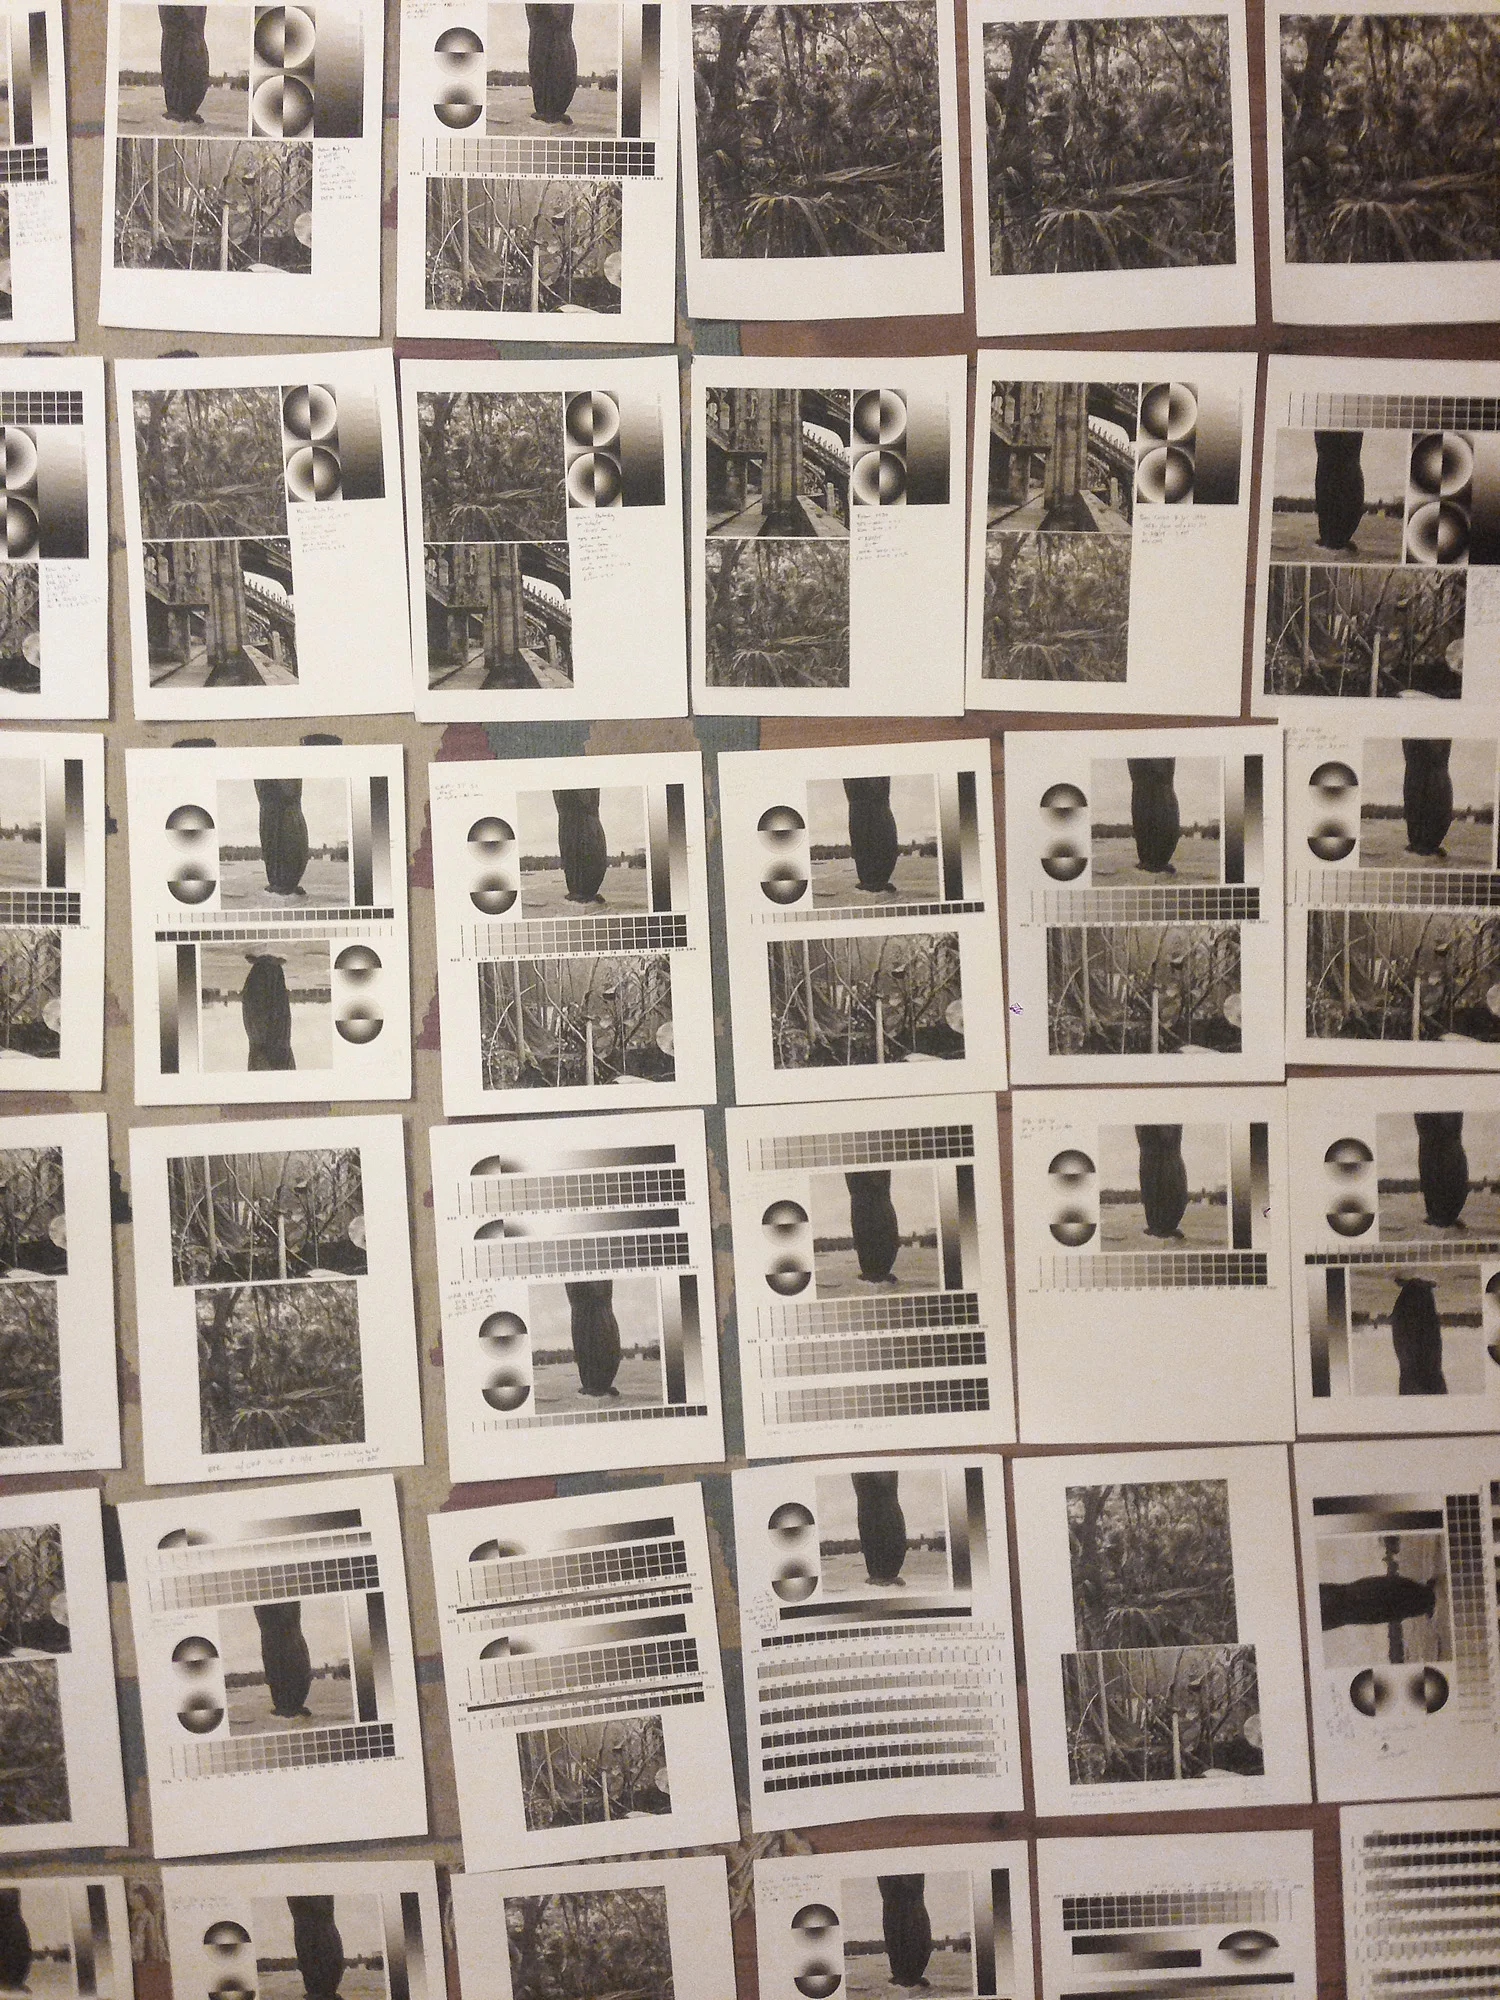
These screen shots illustrate the difference in how increasing the overlap can act to smooth the profile and fill in any noticeable dots as the inks are ramping up and down.


Overcoming the Increase in Density of the Overlap with the Gray_Gamma Setting
Since there is a lot more ink being laid down the increase in dot gain needs to be compensated for by increasing the gray gamma setting in the ink descriptor file. This is essentially a lightness and darkness control similar to the middle slider in the Levels adjustment in Photoshop. A number higher than "1" lightens the print, with a maxiumum value of 10. I usually just set this 1.x with the "x" after the decimal to whatever the overlap is.
Example: if the overlap is 60, then I set the gray gamma to 1.6 (for kozo or other papers where the density increases differently than normal inkjet papers this gamma setting might be 2.2-2.6 for the same overlap setting of 60). That will give the leading edge of each ink curve a much longer and more gradual slope than the default setting of 1.
The Quad Curves in the left hand window have a gray_overlap setting of 75 and gray_gamma setting of 1, are too much "to the left" will print much too dark. The Quad Curves in the right hand window have the same overlap, but a gamma setting of 1.8

Gray Gamma set to 1 on the left will make a print that is far too dark. The profile on the right has a gamma setting of 1.8. This could have been set to 1.9-2.0 for an even straighter initial gray curve.
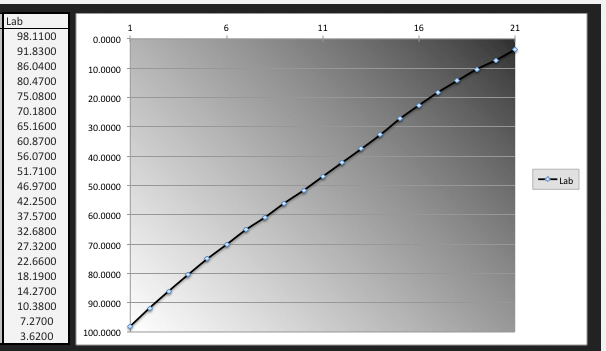
Near Linear Output Right Out of the Gate
This is an example of a profile I made quickly this afternoon with just two sheets of paper. The luminosity graph is prior to final linearization—just using the built in QTR curve creation program with my system for settings for the ink limits, cross overs and the gray curve. In my book I devote whole section to my approach to setting ink limits—how I determine the optimal density for each shade, and how best to divide up the tonal scale. And another section on how to set the exact cross over point (without using complex math—I've done that for you)


Is all this over kill? Maybe, but the goal is making beautiful prints, and not fighting for days (or weeks) to get a working profile. This is a case where setting things up right to begin with will go a long way to getting a great print as soon as possible.
Is this approach with QuadToneRip as as effective as using the Piezography system? That is open for debate, and it depends on your goals, equipment, materials, and how comfortable you are getting messy with the inks and density measurements. I usually recommend that people just invest Piezography because it is well established and well supported system with a track record and an aesthetic you can trust. But, if you do want to get down into the weeds, I am writing the guide, and it should be ready for your summer vacation.